A board game designer's web site
Copyright Eric Pietrocupo

E-Mail: ericp[AT]lariennalibrary.com
Paper board on Fun Foam with glue
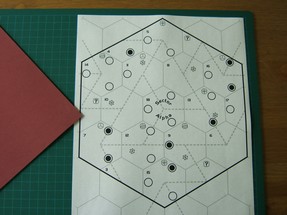
Print out and mount
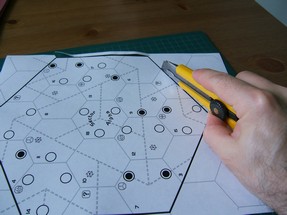 Cut the print out
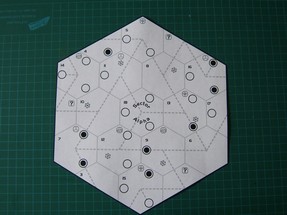 The print out cut
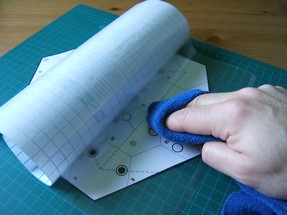 Plastify the top
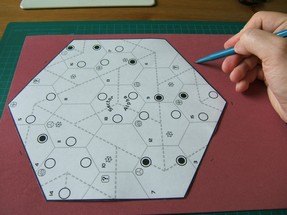 Mark approximately the size
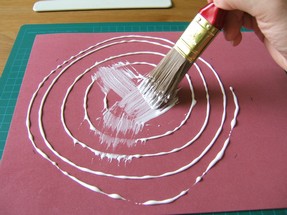 Spread the glue
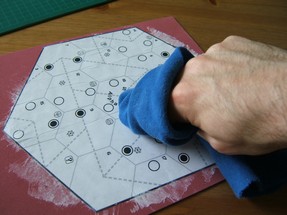 Press with a cloth
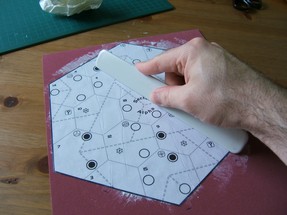 Press with a bone folder
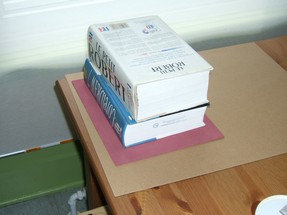 Place it under press
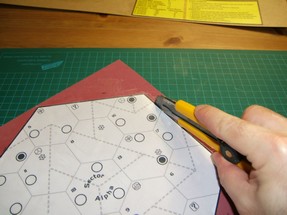 Cut the foam
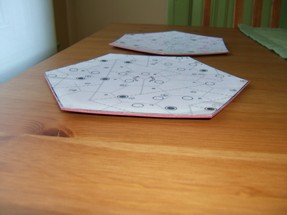 Curved mount
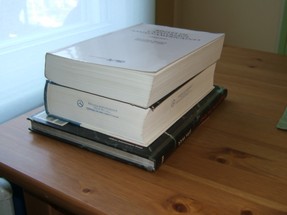 Place under press again
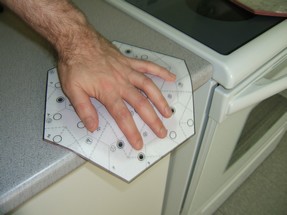 Fold in the opposite direction
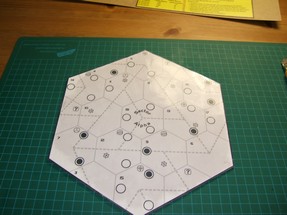 Fun Foam mounted board
In this example, I am mounting a simple sheet of paper on fun foam using white glue. It's normally easier to glue card board than paper and I strongly suggest always printing on cardboard, but it is not impossible to do. You will need the following material:
Warning: Apparently, if you use water based glue, the board will curve unless you glue a board on every side. Still, if you paint non water based glue, it might be harder to clean up. I have not tested real Planatol glue yet.
- Exacto Knife
- Scissors (optional)
- Cutting mat
- Book Plastic (optional)
- Cloth
- Bone Folder
- Pen
- Brush
- Press
- Round edge surface (ex: side of a table)
- Fun Foam mount
- Cut the Print out: First you need to cut the print out. Again each print out has it's own way of being cut. You can either use an Exacto knife or a pair of scissor. Use what you are comfortable with.
- Plastify the surface (Optional): This step is optional, you can refer to the plastification guide to know how to plastify the top of the sheet. Important, DO NOT plastify the back of the sheet where the mount will be stuck. Plastification is generally a good idea for protection but also to make sure that if some glue get stuck on your fingers, you do not finger print ink everywhere. Also, the plastic is washable which can remove glue stains after the job is done.
- Mark the mount: Mark the area on the mount that you intend to cover with glue. It does not have to be really precise and you should have and area larger than the print-out so that you have space to work with it.
- Spread the glue: Spread around the glue and use a brush to spread it uniformly. You need to brush a VERY THIN layer of glue on the mount, so brush a lot. If it's the first time you brush, most of the glue will get absorbed by the brush, you might need to add glue again. Since the print-out is made of paper, DO NOT place glue on the paper to mount.
- stick the print out: Stick the paper on the mount and make sure all the print-out has glue under it. Sometimes the paper will ripple, so make sure you carefully stick the paper gradually from one side to the other.
- Press with a cloth: Press over all the surface with a cloth to make sure the whole print out is stuck.
- Press with a bone folder: Press with the bone folder to do the same. If you placed too much glue, now it's the time to remove any excess glue by pressing from the center to the sides to move the glue out. If it is the case, next time, put less glue on the mount.
- Let it rest under a press: You MUST let it rest under a press. Also make sure that the surface of the mount touch a surface you do not mind having glue on it. Because when on press, it is possible that some glue leak around the sheet. Also the surface you glued is generally larger that the printout. So if you place it directly on a table, you'll end up with glue on your table. You should let it rest for a few hours, check your glue instructions for details.
- Cut the foam: Use an exacto knife to cut around the board. You now have an foam mounted board. In theory it's finished, but last time I had a surprise a few days later.
- Wait a few days: Seems stupid to say, but wait an few days and see if it has curved. If it does, continue with the steps below.
- Place it again under a press: The first thing you can do to remove curving is to place it under a press. If would remove the largest portion of the curve but at the end it will still curve a little bit. You can place it on press for at least a day. I generally place the mount curving downward under the press, but you can alternate after some time on the other side.
- Fold the mount: Another technique I found is to rub the mount against an hard curved surface so that you can force the curve to go in the opposite direction. Don't curve it too much, use your judgment to make sure it end up straight. Else you could end up with a board curved in the opposite direction.
Many weeks later, even after folding the mount I still get curved/wavy results. So I am not sure if the problem is the type of glue or the type of mount. I did not get that much trouble with another job I have done. So maybe I'll need to do additional tests.
<< Unmounted Reference Sheet | Table of contents | Cardboard Sheet on cardboard with glue >>
Powered by PmWiki and the Sinorca skin