A board game designer's web site
Copyright Eric Pietrocupo

E-Mail: ericp[AT]lariennalibrary.com
Borders and Cutting Lines
There are various ways to cut components on a sheet and there are various rules that should be followed to make the assembly easy to do.
Border or No borders
The easiest way to design components is to create rectangular black outline and place content inside. The first objection could be that a black border around the component might not look nice. The second objection is if you want to make components tillable (ex: a modular map) you do not want a black border. In that case it could be useful to remove borders and only show a thin cutting line.
Reducing number of cuts
Most of the time, players want to assemble a game fast. To this can be achieved by reducing the number of cut by placing components adjacent to each other. It will require additional cutting lines to guide the user to cut at the right place.
Shapes friendly to cut
Some geometric shapes are easier to cut than others. I strongly suggest using square and rectangle for all components since they can easily be placed side by side with each other. Triangles are also pretty much tillable and easy to cut. Octagon could be acceptable but there will be an extra step to cut the corners.
If you absolutely need, for example a modular hex map, you can always use a square hex map.
Cutting line shapes
There are various ways to mark cutting lines, considering that you do not know the width of the blade, if you draw a white line there might be a lot of white on the piece after being cut. This is why I suggest using dotted lines. On a black outline, I generally use gray dotted line. This way, if the user does not cut exactly straight, the dotted lines will not be that much obvious.
Border and cutting lines example
Here is a series of example that I have seen or used. I'll give the pro and the cons of each example.
Example 1
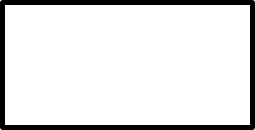
This is the basic border. You normally expect to people to cut at the edge of the black border. Since user cuts are generally not completely straight, you can cut it in the middle of the black line instead. Adding cutting lines would help the user.
Example 2
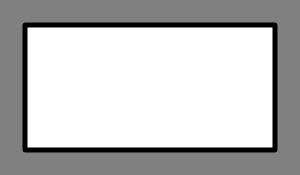
In this example, I have placed a colored border around the cutting border so that no white spot appears when the piece is cut. I do not use this very often but it could prove to be useful sometimes.
Example 3

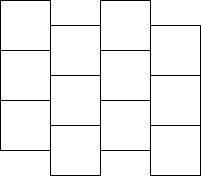
Most of the time, you will have multiple components on the same sheet. One thing I regularly see is by spreading the components to cut on the sheet. The problem with the example above is that it requires a lot of cut.
Example 4
The solution to example 3 is to place the tokens side by side with each other. But if you want the black border around the tokens to be of the same size, you need to cut in the middle of the line. This is why I add dotted gray cutting lines, this will make the cut more easy.
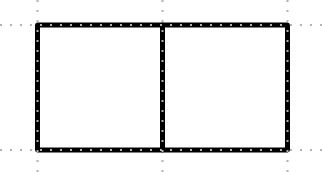
Example 5
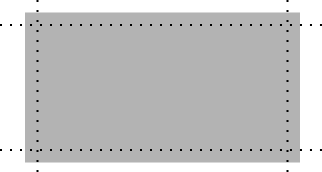
If you want tillable pieces or if you do not want a black border around your tokens, the easiest way to do it to place dotted line with no borders. This is also something I commonly use for modular board.
Example 6
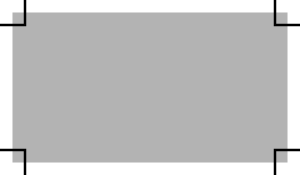
Some people use cropping marks, this is interesting because it hides even more the cutting line but you absolutely need a slicer to cut the piece. Slicers are not available to everybody. I also do not like simple slicer since the sheet seems to move when being sliced. You would need a slicer that hold the page in place like professional book slicers.
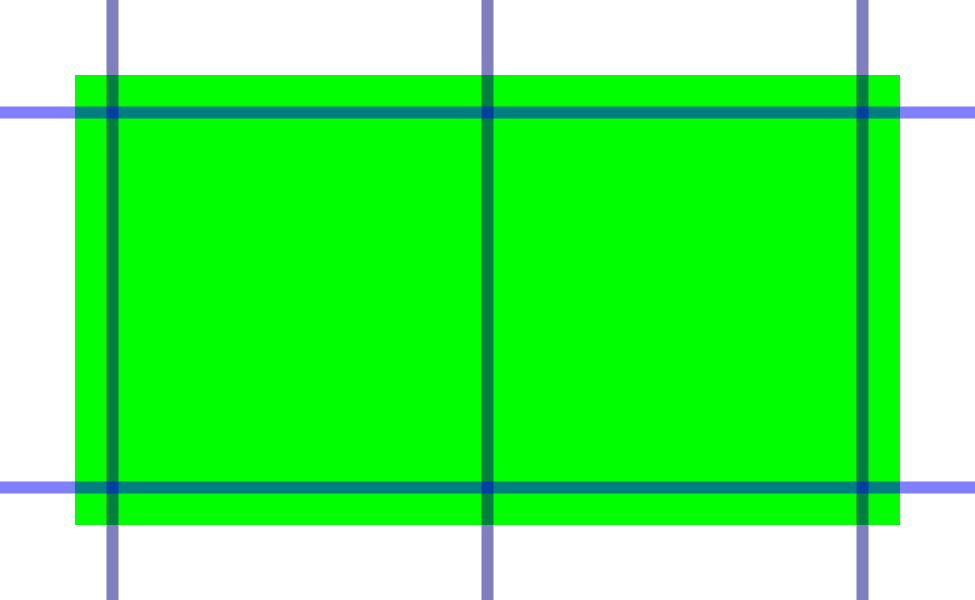
Example 7

In this example, the components were placed very close to each other so that you can cut between the tokens. This is the equivalent of using a white line for the cutting line and might leave some white space. But this sort of border could be more useful for folding than cutting.
Example 8
You can also use translucent borders. Sometimes, it could make the cutting line blend in more easily with the components. This is a useful technique that could be used on some occasions.
<< Components | Table of contents | Playing with Colors >>
Powered by PmWiki and the Sinorca skin